Emerging Approaches Redefining Craft-Focused Customer Experiences
Craft-focused small businesses have always relied on care, precision, and sourcing to stand out. What’s changing now is how those values are shown, not just

TL;DR:
Knowing how to clean a coffee maker is essential for every coffee lover. A clean machine not only produces better-tasting coffee but also lasts longer. Over time, mineral deposits and coffee oils can build up, affecting your brew’s flavor and your machine’s performance. This guide will show you simple, effective steps to keep your coffee maker in top shape, using common household items like vinegar and baking soda. By following these tips, you’ll ensure every cup of coffee is as delicious as the first.
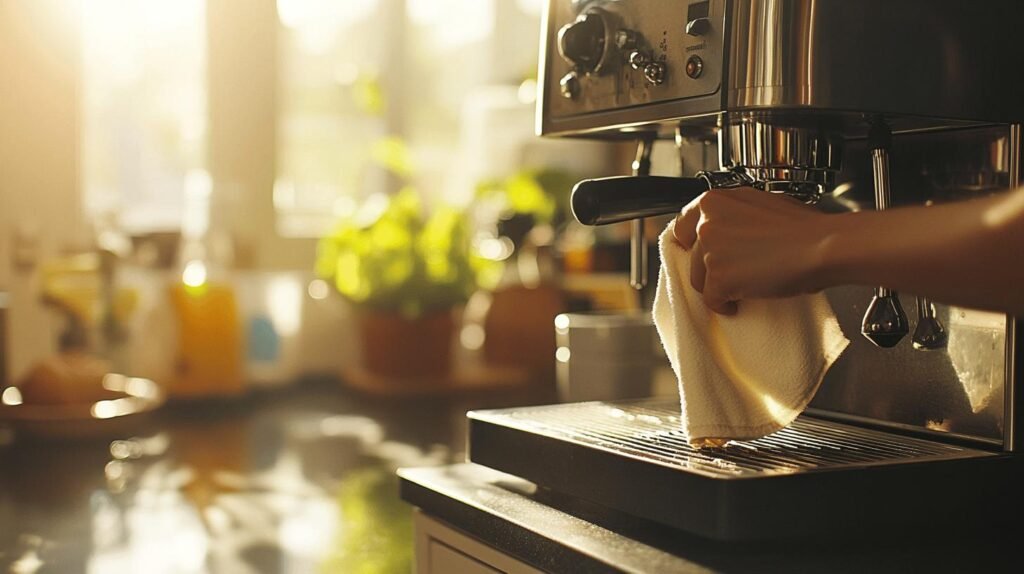
Cleaning your coffee maker regularly is crucial for amazing taste and hygiene. Over time, mineral deposits, coffee oils, and other residues can build up. This affects the flavor of your coffee and may cause mechanical issues. Regular cleaning helps to prevent these problems, ensuring every cup you brew is delicious.
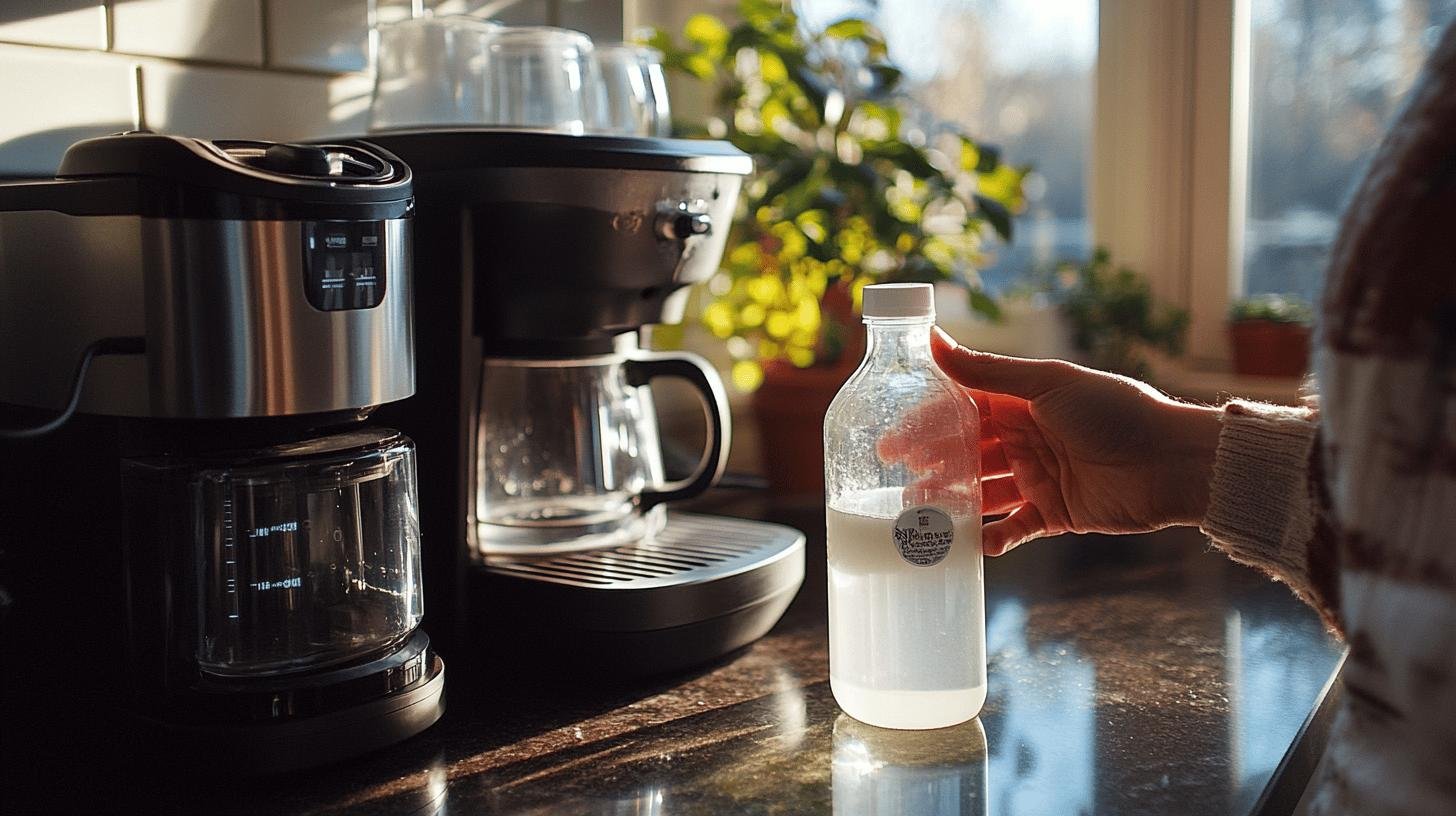
To clean your coffee maker effectively, you need a few materials: vinegar, water, baking soda, and commercial cleaning solutions. Vinegar is great for descaling and removing mineral deposits. Baking soda scrubs away stubborn stains and residues. Commercial cleaning solutions offer a thorough clean.
Here are the essential steps for cleaning your coffee maker:
Following these steps ensures your coffee maker remains in top condition. Regular cleaning not only enhances the taste of your coffee but also extends the lifespan of your machine. By maintaining a clean coffee maker, you reduce the risk of clogs and other issues from residue buildup.

Vinegar is highly effective as a descaler due to its acidic nature, which breaks down calcium deposits and residues. It’s affordable and non-toxic, making it an excellent alternative to commercial cleaning solutions.
To clean your coffee maker with vinegar, follow these steps:
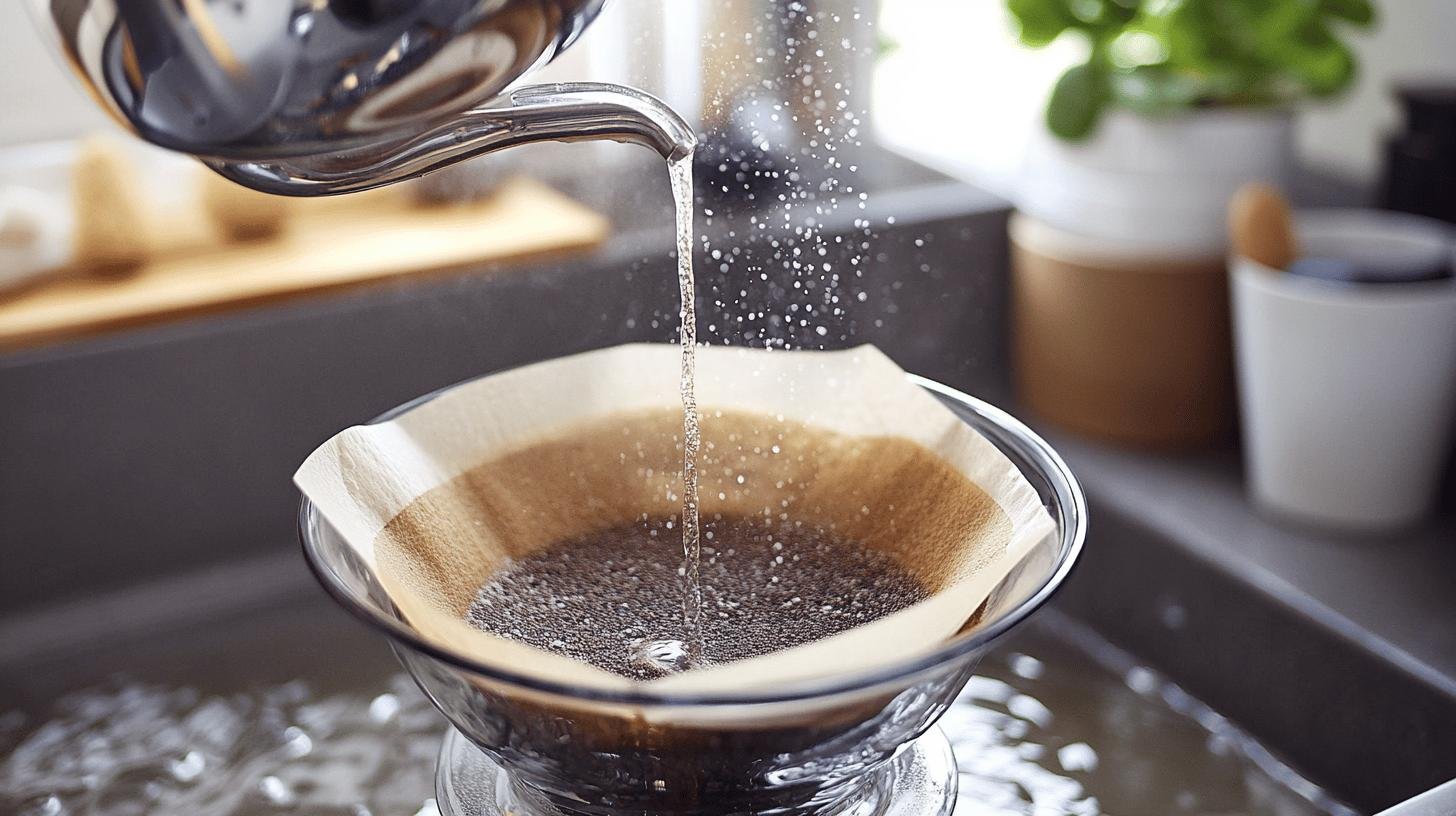
Rinse thoroughly after using vinegar. Run several brew cycles with just water to flush out any remaining vinegar. This step is vital to ensure your next cup of coffee isn’t affected.
Sometimes, using vinegar may not be ideal due to its strong odor or personal preference. Alternatives like baking soda, lemon juice, and commercial cleaners are effective, offering various ways to maintain a clean coffee maker without vinegar’s smell. These options can be just as efficient in removing residues and ensuring a great-tasting cup of coffee.
Baking soda is great due to its gentle abrasive properties, making it effective for scrubbing stubborn stains and residues. Lemon juice is a natural acidic cleaner that helps with light descaling, similar to vinegar. Both options are readily available, making them convenient for regular cleaning.
Each method has pros and cons. Baking soda is excellent for scrubbing but may require effort to rinse out completely. Lemon juice provides a pleasant scent but may not be as strong for heavy descaling. Commercial cleaners are effective but can be more expensive and less eco-friendly. Choose based on your needs and preferences.

Descaling your Keurig coffee maker is essential to prevent mineral deposits that can impact performance and taste. Regular descaling helps maintain Keurig’s efficiency and ensures every cup is free from unwanted flavors and residues.
You’ll need: distilled white vinegar or a commercial descaling solution, clean water, and a ceramic mug. Both vinegar and commercial solutions are effective for breaking down and removing scale deposits.
Here are the five steps for cleaning a Keurig coffee maker:
Regularly cleaning your Keurig not only preserves its lifespan but also enhances the taste of your coffee. Removing mineral deposits and other residues prevents clogs and ensures optimal performance. Regular maintenance is key to enjoying consistently great-tasting coffee.
The frequency of cleaning your coffee maker depends on how often you use it. If you use it daily, aim to clean it at least once a month. This helps prevent mineral deposits and coffee oil buildup, preserving flavor. If you use it less often, clean it every 3 to 6 months. This schedule keeps the machine in good condition for great-tasting coffee.
Knowing when to clean your coffee maker is crucial. Changes in coffee taste, such as bitterness, indicate it’s time for a cleaning. Visible deposits, like white chalky buildup or brown stains, also signal a need for attention. Address these signs promptly to prevent significant issues and extend the life of your machine.

Regularly cleaning your coffee maker filters is crucial for preventing buildup and ensuring optimal performance. Over time, coffee oils and fine grounds can accumulate in the filters, leading to clogs and affecting coffee flavor. A clean filter maintains the quality of your brew and extends the life of your coffee maker by reducing strain on its components.
You need water, baking soda, a soft brush or sponge, and mild dish soap to clean filters. Water and baking soda are effective for scrubbing residues. A soft brush helps reach filter crevices, and mild dish soap can be used for a thorough cleaning.
Steps to clean your filters:
Regular filter maintenance produces great-tasting coffee by eliminating old oils and grounds that can impart off-flavors. Clean filters prevent clogs, ensuring smooth water flow and reducing mechanical issues. By keeping your filters clean, you contribute to the longevity and performance of your coffee maker.
Learning how to clean a coffee maker is easier than you might think and incredibly important for maintaining your daily coffee ritual. By following these cleaning steps regularly, you’ll enjoy better-tasting coffee free from old residues and extend your machine’s lifespan.
Remember to clean your coffee maker every month if you use it daily, or every few months for less frequent use. This simple habit will keep your machine running smoothly and your coffee tasting great. Your taste buds will thank you, and you’ll save money in the long run by avoiding costly replacements.
Mix equal parts water and vinegar, run it through your machine, let it sit for 30 minutes, then rinse thoroughly with water.
Yes, mix 1/4 cup baking soda with water, run it through the machine, then rinse well.
Clean your coffee maker monthly if you use it daily, or every 3-6 months for less frequent use.
Bitter taste, slow brewing, or visible mineral deposits indicate it’s time to clean.
Yes, but follow the manufacturer’s instructions carefully for best results.

Craft-focused small businesses have always relied on care, precision, and sourcing to stand out. What’s changing now is how those values are shown, not just

How can brands create a more balanced and memorable customer experience by blending artisanal product quality with thoughtful everyday rituals that keep people coming back?

Independent coffee shops have always been about more than caffeine—they’re hubs of creativity, connection, and care. As café culture continues to evolve, new trends are

Introduction Independent cafes win when they feel like the neighborhood’s living room and operate with the discipline of a great kitchen. Below is a quick

Discover how top specialty coffee brands create lasting loyalty through storytelling, sourcing, and community connection. Real tips from 6 industry experts.

Discover the ultimate showdown between two beloved coffee brewing methods: the French press and Chemex. Explore how each technique caters to distinct palates, with the French press delivering bold flavors and the Chemex presenting a bright, clean taste.

Unlock the secrets to brewing the perfect cup of coffee with our comprehensive guide on using a coffee scale. Discover how precise measurements enhance flavor and consistency while eliminating bitterness.

Discover how water temperature plays a vital role in brewing the perfect cup of coffee. This article delves into the ideal temperature range of 195°F to 205°F for optimal flavor extraction, enhancing the enjoyment of high-quality beans.

Discover the world of curated specialty coffee bundles, perfect for enthusiasts seeking quality and craftsmanship. This article explores the benefits of ethically sourced, small-batch beans from brands like Equipoise Coffee, offering diverse flavor profiles that elevate your brewing experience.