
Emerging Approaches Redefining Craft-Focused Customer Experiences
Craft-focused small businesses have always relied on care, precision, and sourcing to stand out. What’s changing now is how those values are shown, not just
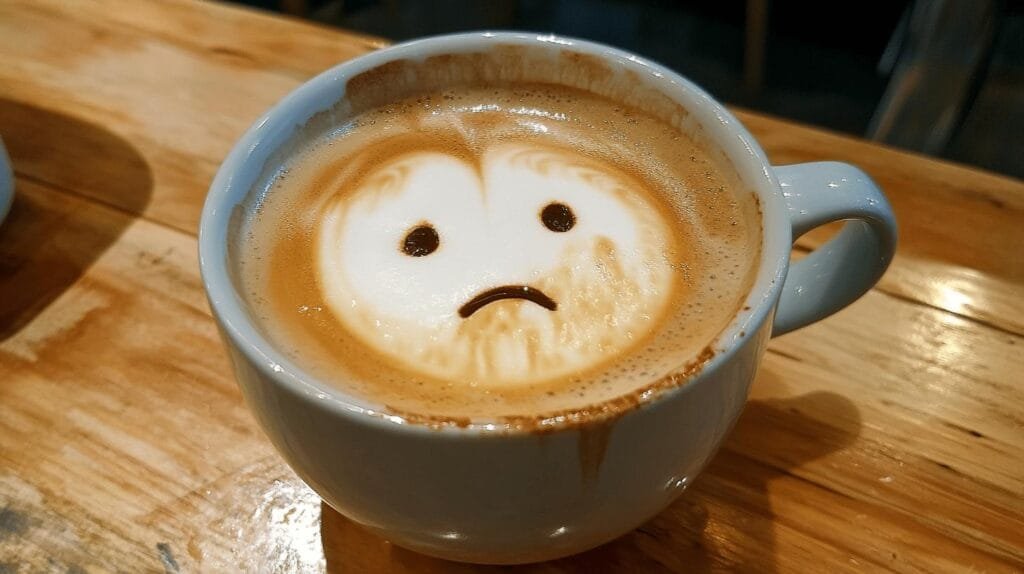
Is your latte art consistently falling short of expectations, leaving you puzzled about why your designs aren’t turning out as planned? Understanding the reasons for latte art failure is crucial for achieving that perfect swirl or heart atop your favorite coffee. By delving into the common mistakes—like incorrect milk texture, poor pitcher choice, or flawed espresso technique—enthusiasts can pinpoint and troubleshoot their issues effectively. This guide uncovers common pitfalls and helps answer “why does my latte art fail,” equipping you to refine your technique and create impressive designs. Common Reasons Why Your Latte Art Fails
Getting the hang of latte art requires understanding why it often fails. Recognizing these issues helps you make precise adjustments, improving your coffee presentation.
Fixing these common problems enhances your latte art. A pitcher that matches your cup size ensures the right milk-to-foam ratio. Perfect milk texture creates smooth designs. Proper crema setup and espresso with rich crema lay a strong foundation for successful art. Adjusting these elements can improve the clarity and balance of your designs, raising your coffee’s quality.
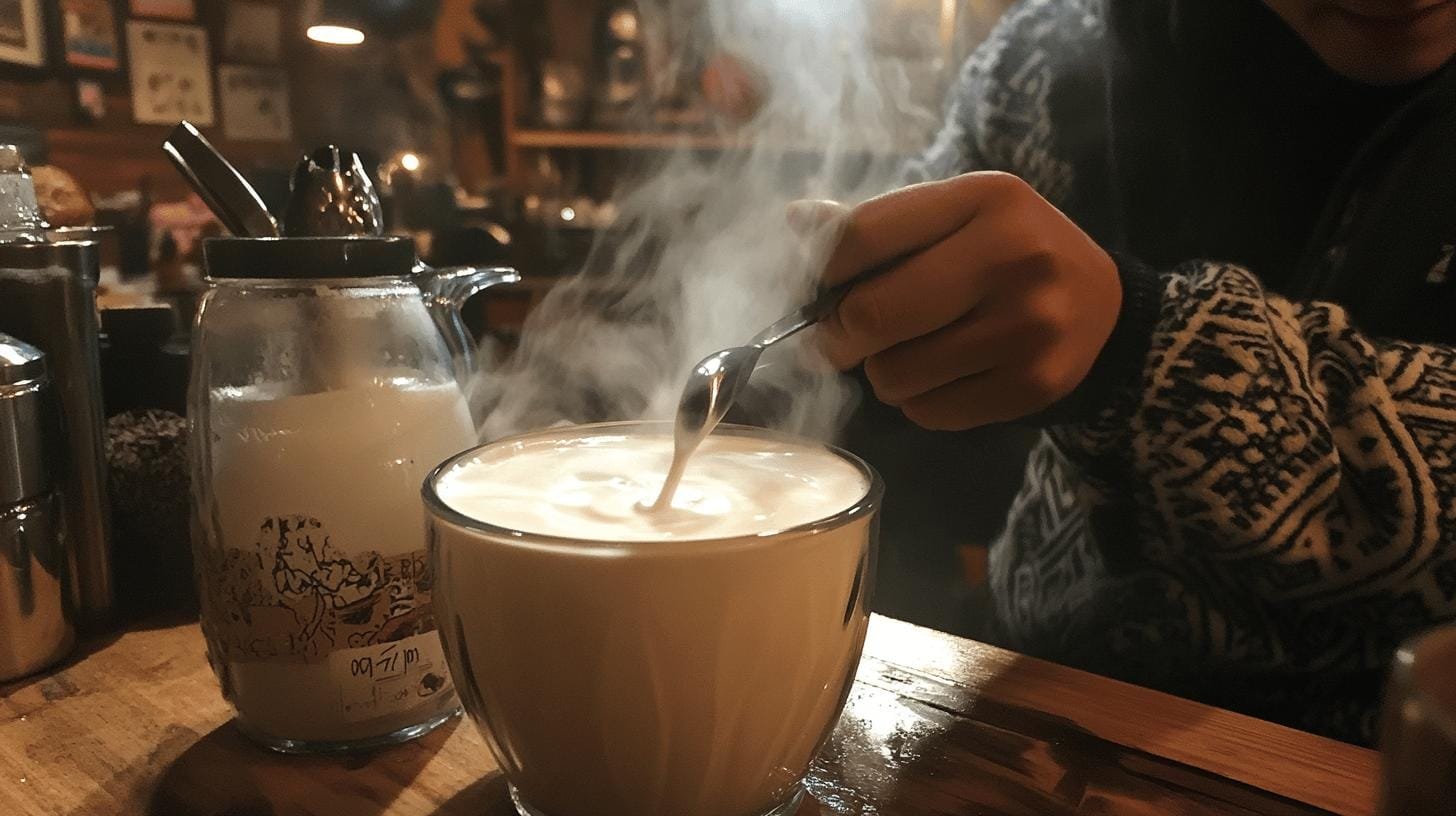
Milk texture is key in creating great latte art. Good frothing provides a smooth base for your designs. Microfoam is critical for this, requiring skill and temperature control.
Microfoam lets baristas draw crisp, clean patterns. To make it, inject air into the milk, creating a ripping sound. Spin the milk in a whirlpool to mix air evenly. This gives a smooth, velvety texture. Proper texture avoids a bubbly or too-thin consistency, ideal for art.
Temperature is crucial—it affects milk proteins and foam. Heating above 160°F (70°C) can ruin proteins, leading to bad foam. Too cool, and foam won’t be stable. Keeping a steady temperature keeps the milk sweet and the foam strong.
Solving frothing issues can boost latte art quality. Overheating or under-aerating are common but fixable with care and the right settings.
| Frothing Issue | Solution |
| Overheating | Monitor temperature; stop steaming at 150°F |
| Under-aerating | Inject enough air; listen for the ripping sound |
| Uneven texture | Whirlpool the milk; swirl it after frothing |
By mastering frothing, you enhance your latte art skills, achieving more striking and solid designs.
Why does latte art fail? A big reason is poor espresso quality. Crema richness is crucial, providing the canvas for milk designs. A well-made espresso offers a stable crema for clear patterns. Poor extraction gives weak designs due to a lack of crema. Ensuring good espresso quality creates a solid base for latte art, allowing detailed, precise presentations.
Espresso and milk must blend for art success. Espresso lays the groundwork while milk adds design texture. Balancing both ensures seamless milk-crema integration, enhancing the art’s clarity and symmetry. Focus on espresso extraction and milk preparation for superior creations, elevating your coffee experience.
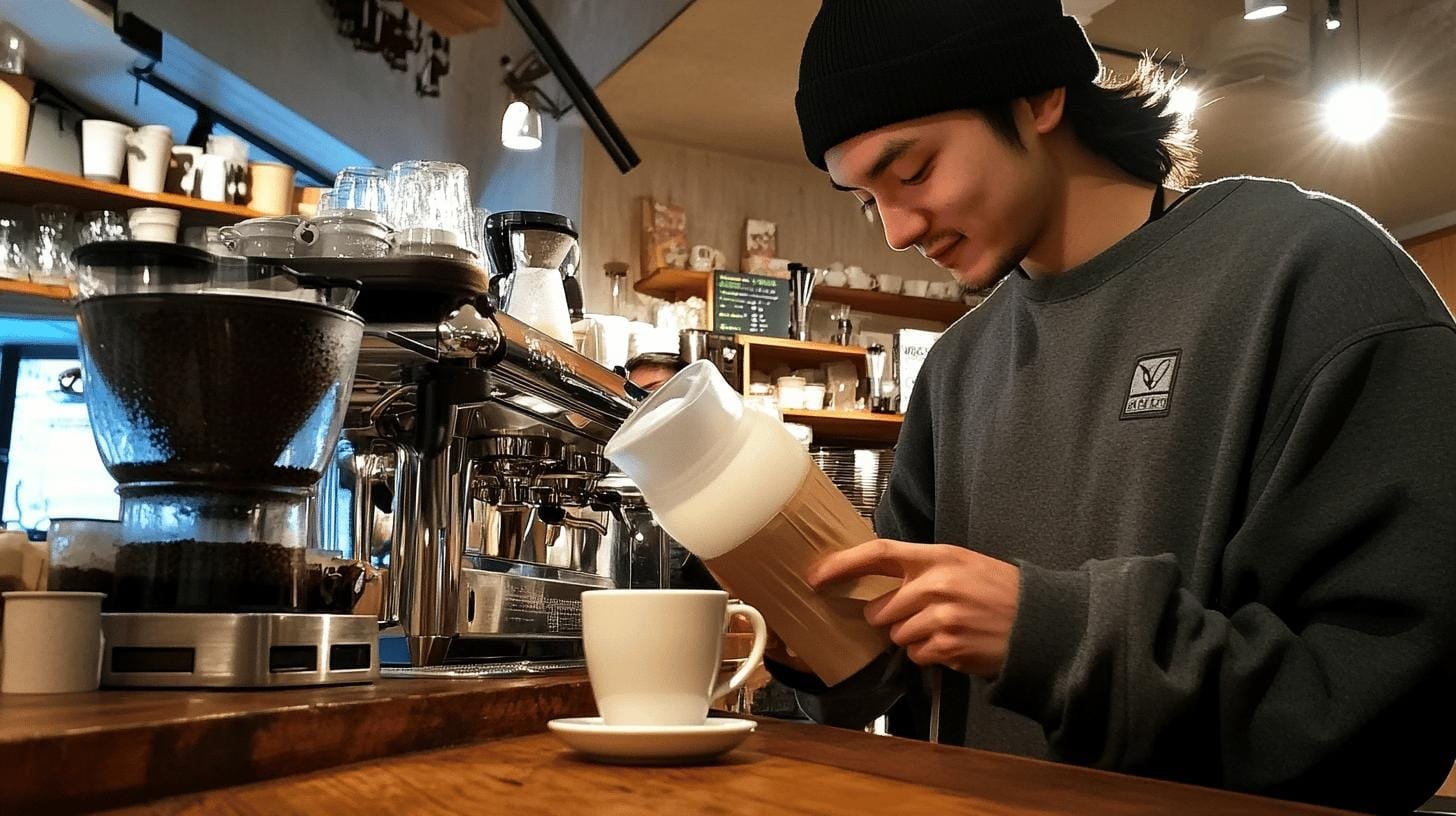
Pouring skills are vital for latte art. Mistakes in speed, angle, or height can mess up designs. Practice these skills to craft creative coffee designs. Pouring affects design clarity and boosts confidence in coffee presentation.
Speed and height shape latte art. Pouring too fast can destroy crema, making blurry designs. Too slow can hinder milk blending. Start with a high pour to mix milk and espresso, then lower the spout for design accuracy. This controls milk flow, ensuring clear art.
The pouring angle impacts pattern symmetry and clarity. A steady angle keeps structure sound, avoiding uneven outcomes. Hold the pitcher steadily and pour consistently, allowing milk and crema harmony for balanced designs.
A steady hand gives pouring control. Practice is key. Hold the pitcher handle lightly to stabilize, minimizing movement that harms patterns. Practice builds muscle memory and confidence for complex designs.
Focusing on these techniques refines skills, creating visually and technically solid latte art.
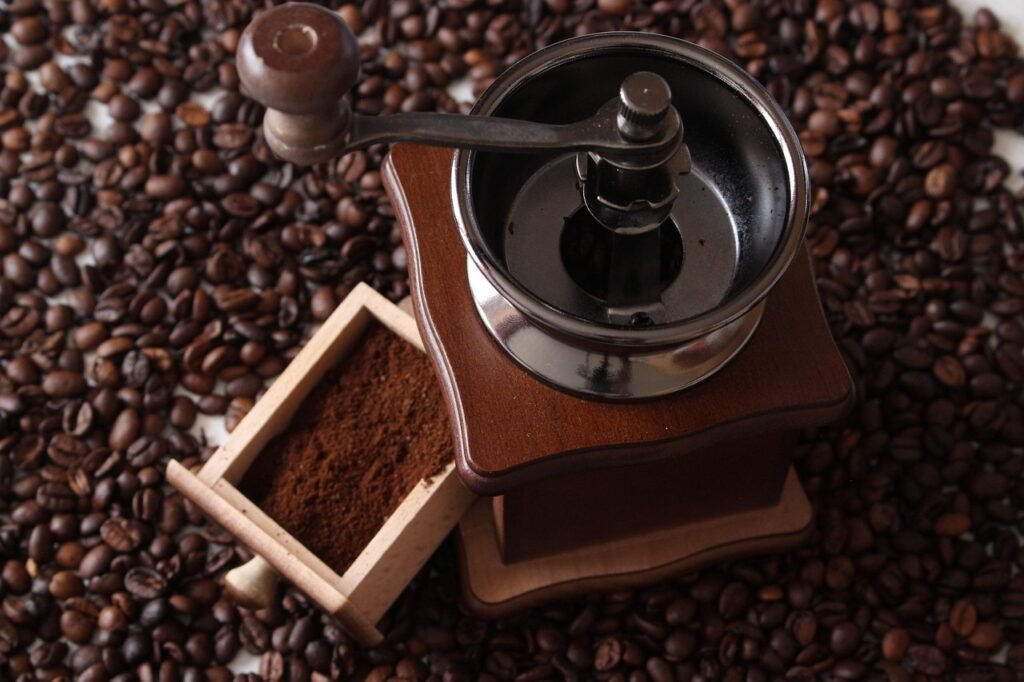
Why does latte art fail? Precision in equipment matters. Good latte art starts with the right tools—pitcher and cup. A shallow cup with a wide rim gives room for better milk flow and design control. A well-designed pitcher spout offers smooth, controlled pours for intricate patterns. The alignment between spout and rim integrates milk and espresso, creating a perfect art canvas.
Investing in quality tools boosts results. Professional-grade gear offers consistency, letting baristas refine techniques with reliable outcomes. Using precision-designed tools allows focus on skill, not equipment shortcomings.
Why does my latte art fail? The answer lies in mastering vital techniques and understanding equipment’s role. From pinpointing common errors to perfecting milk frothing, each step matters. The art of pouring shapes the outcome, while espresso quality influences design clarity.
Investing in suitable pitchers and cups elevates the craft by supporting your skilled efforts. Each aspect, from milk texture to pour precision, contributes to beautiful latte art. Embracing these insights leads to improved results, transforming each cup into a canvas. With practice and the right tools, creating flawless latte art becomes within reach.
Latte art’s failure often results from incorrect milk texture or poor pouring technique. Addressing these mistakes, such as using the right pitcher size and establishing proper crema, significantly aids improvement.
Issues may include improper milk frothing, wrong pouring technique, or inadequate espresso crema. Fine-tuning these aspects is essential for successful latte art execution.
Pour slowly and adjust the spout height to control flow. Maintain a consistent angle for symmetrical designs. Practice these techniques to build confidence in latte art pouring.
Achieving creamy milk requires creating microfoam by injecting air and forming a whirlpool. Maintain optimal temperature without overheating to preserve milk proteins.
Ideal milk temperature for latte art ranges between 150°F and 160°F. This temperature ensures proper texture while preventing protein denaturation, essential for quality foam.
Craft-focused small businesses have always relied on care, precision, and sourcing to stand out. What’s changing now is how those values are shown, not just
How can brands create a more balanced and memorable customer experience by blending artisanal product quality with thoughtful everyday rituals that keep people coming back?

Independent coffee shops have always been about more than caffeine—they’re hubs of creativity, connection, and care. As café culture continues to evolve, new trends are
Introduction Independent cafes win when they feel like the neighborhood’s living room and operate with the discipline of a great kitchen. Below is a quick

Discover how top specialty coffee brands create lasting loyalty through storytelling, sourcing, and community connection. Real tips from 6 industry experts.

Discover the ultimate showdown between two beloved coffee brewing methods: the French press and Chemex. Explore how each technique caters to distinct palates, with the French press delivering bold flavors and the Chemex presenting a bright, clean taste.

Unlock the secrets to brewing the perfect cup of coffee with our comprehensive guide on using a coffee scale. Discover how precise measurements enhance flavor and consistency while eliminating bitterness.

Discover how water temperature plays a vital role in brewing the perfect cup of coffee. This article delves into the ideal temperature range of 195°F to 205°F for optimal flavor extraction, enhancing the enjoyment of high-quality beans.

Discover the world of curated specialty coffee bundles, perfect for enthusiasts seeking quality and craftsmanship. This article explores the benefits of ethically sourced, small-batch beans from brands like Equipoise Coffee, offering diverse flavor profiles that elevate your brewing experience.