Emerging Approaches Redefining Craft-Focused Customer Experiences
Craft-focused small businesses have always relied on care, precision, and sourcing to stand out. What’s changing now is how those values are shown, not just
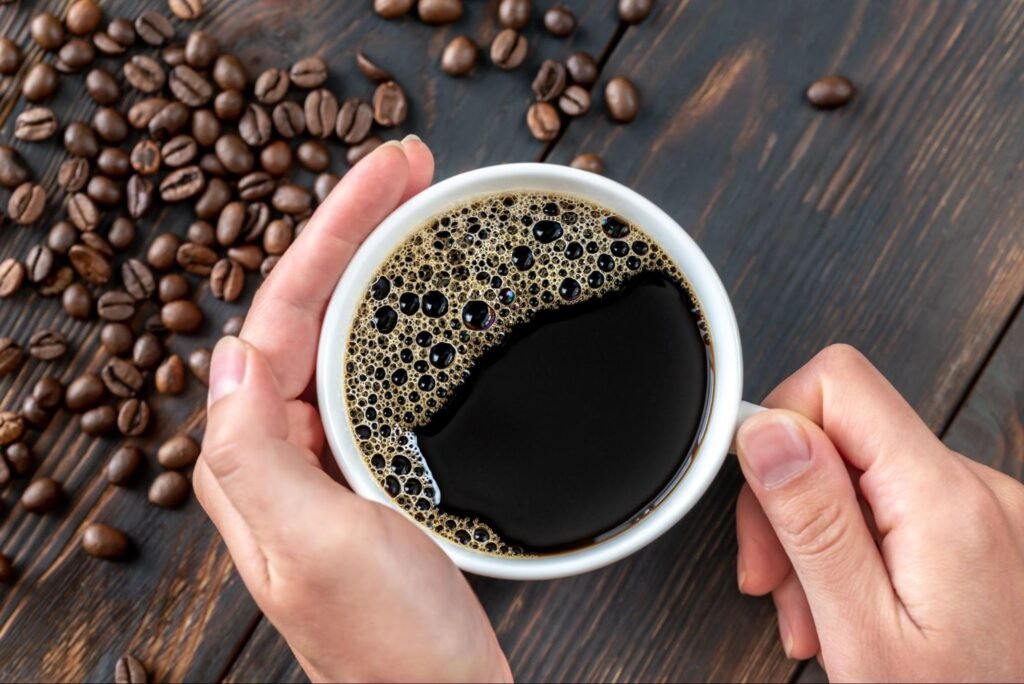
Can oat milk step into the realm of latte art, or does it fall short against dairy? While skeptics might argue that non-dairy alternatives can’t match whole milk’s frothing capabilities, barista-grade oat milk is changing the game with its ability to create a silky microfoam essential for stunning latte art. This article guides coffee aficionados in mastering latte art with oat milk, exploring its texture, frothing techniques, and pouring methods to perfect your foam.
Oat milk has become a popular dairy-free option for latte art. It offers a mild taste and natural sweetness similar to cow’s milk. This makes it a great choice for those avoiding dairy but wanting to maintain flavor. When frothed properly, oat milk achieves the silky microfoam needed for intricate latte art designs.
Barista-grade oat milk is specially designed for this. It often contains more protein and plant-based thickeners. These create the ideal texture for stable and creamy foam that holds its shape. This allows both baristas and home enthusiasts to craft stunning coffee art.
Here are some top choices:
Using barista-grade oat milk is essential for quality latte art. These oat milks are designed to withstand steaming and maintain consistency. They make it easier to create detailed patterns. The added proteins and thickeners stabilize the microfoam, keeping it smooth. This enhances the latte art’s appearance and the coffee’s flavor, giving a balanced taste.
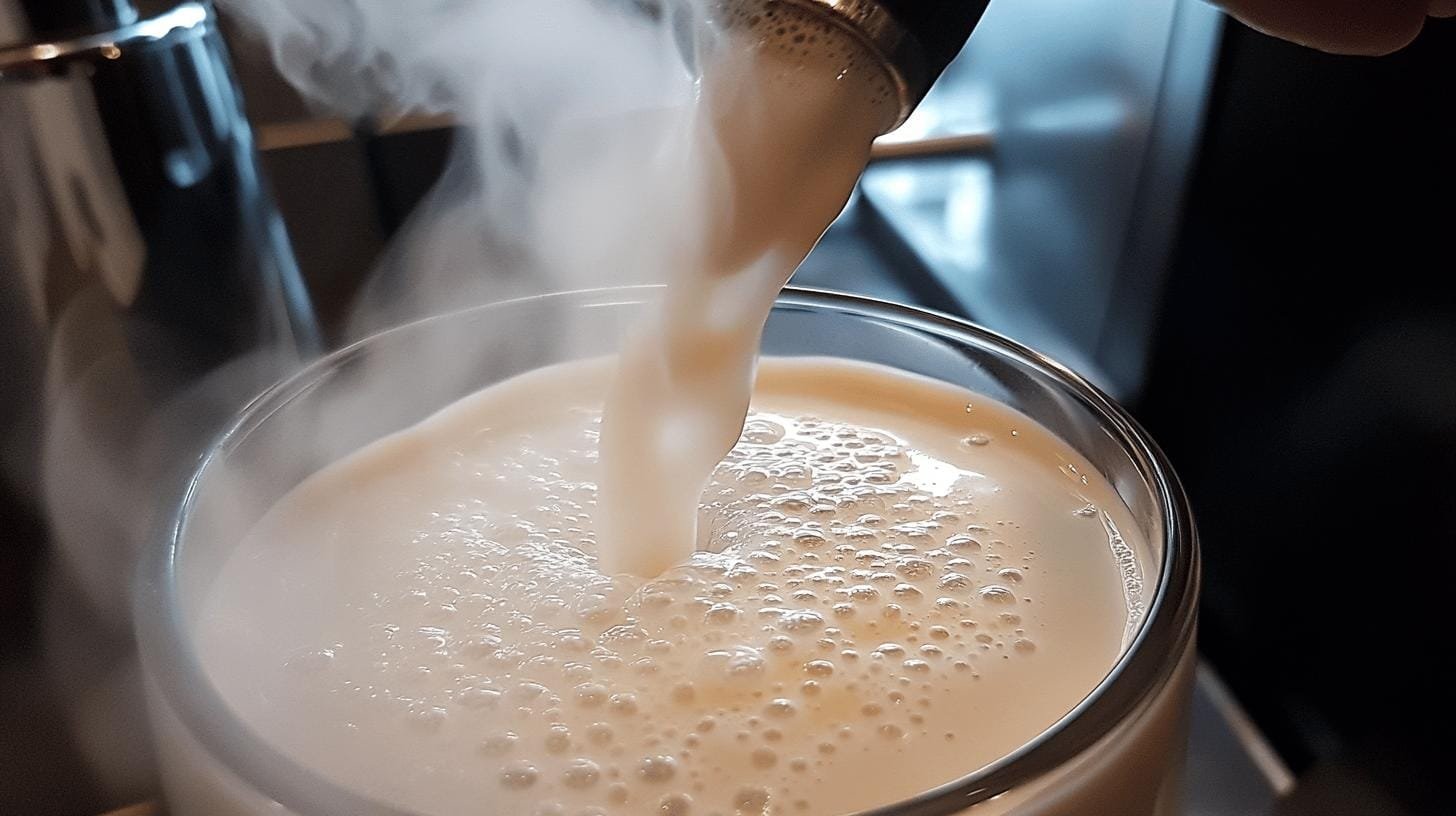
Consistency in frothing is key for creating latte art with oat milk. A smooth microfoam is needed to keep patterns like hearts and tulips stable. To achieve this, use precise steaming techniques to avoid overheating. This helps preserve the milk’s sweetness and texture. The best temperature for steaming oat milk is between 55°C and 65°C (130°F to 149°F).
Improper technique or overheating can cause large bubbles or a watery texture. Ensure the steam wand is placed correctly and air is introduced slowly. If the milk seems watery, it might need more frothing or a better milk-to-air ratio. Practicing these techniques can improve oat milk foam quality and help create beautiful latte art with oat milk.
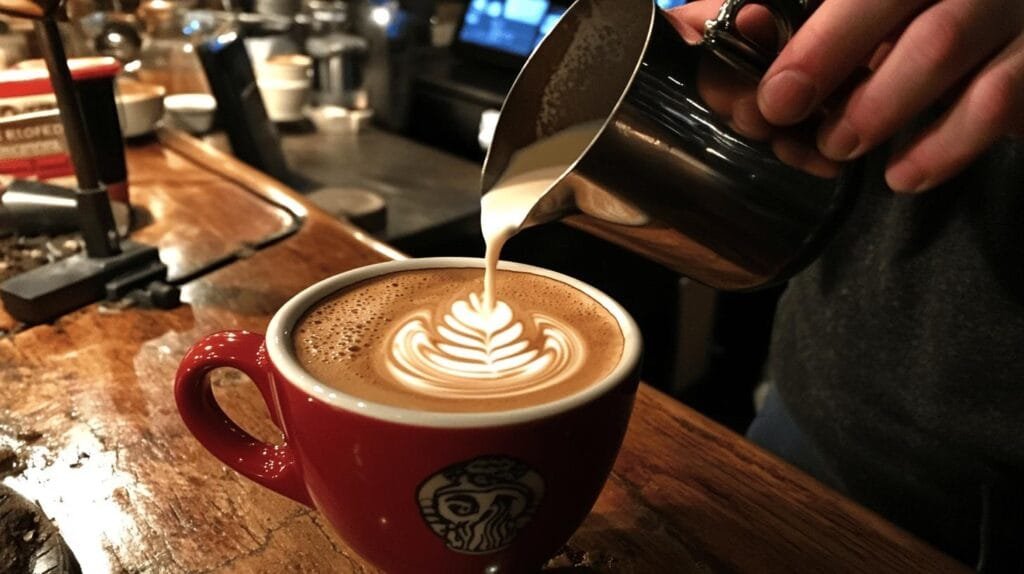
Pouring technique is crucial when making latte art with oat milk. It influences the design and quality of the coffee art. Pouring oat milk with a steady stream and correct angle enhances the design’s clarity. Quality foam from proper frothing supports complex patterns. Beginners should start with simple designs to build confidence.
Practicing different patterns helps hone latte art skills. By experimenting, you can develop a unique style and improve precision in latte art with oat milk.
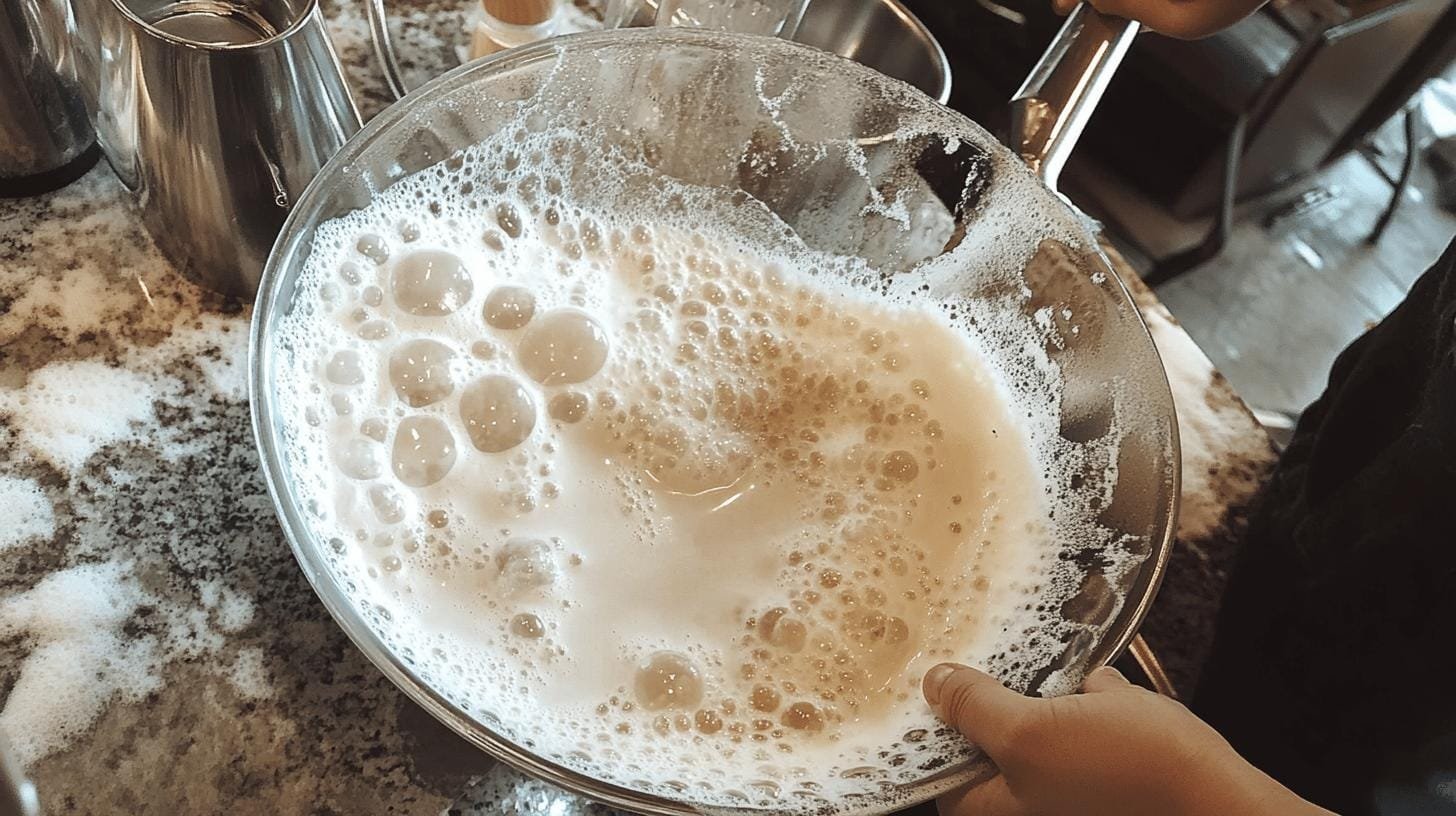
Creating latte art with oat milk can be challenging. Issues like large bubbles and watery texture often arise from improper frothing. Overheating or quick air introduction can cause unstable microfoam. Low-quality oat milk lacking protein and stabilizers results in poor froth.
To address these issues:
Quality steaming equipment is vital for great latte art with oat milk. Reliable espresso machines and steam wands offer consistent control. This precision ensures a stable microfoam essential for detailed patterns, enhancing coffee experience.
Correct equipment is crucial for making high-quality latte art with oat milk. Specialized tools provide precision and consistency needed for silky microfoam. Essential items help steam milk perfectly, creating a stable base for intricate art.
Investing in quality tools ensures consistent performance and reduces errors. This allows home baristas to replicate café-quality results. High-quality equipment elevates latte art’s visual appeal and coffee experience, blending taste and aesthetics perfectly.
Mastering latte art with oat milk involves understanding both the unique properties of oat milk and the techniques for frothing and pouring. With its mild taste and ability to form a silky microfoam, oat milk, particularly barista-grade variants, stands out as an ideal choice for non-dairy latte art.
Precision in frothing and artful pouring are essential for creating appealing designs. Addressing common issues and using the right equipment can enhance the quality and consistency of your creations. With patience and practice, anyone can achieve latte art excellence while enjoying the balanced flavors of oat milk.
Yes, you can make latte art with oat milk. Using barista-grade oat milk improves the chances of creating a silky microfoam that is essential for detailed designs.
The best temperature for steaming oat milk is between 130°F and 149°F. This range avoids overheating and helps achieve the desired froth consistency.
Steam oat milk without a steamer by heating it gently on the stove and whisking vigorously. An immersion blender or electric frother can also create microfoam without a steam wand.
Recommended brands for oat milk latte art include Oatly Barista Edition, Califia Farms Barista Blend, Minor Figures Barista Oat Milk, Alpro Barista Oat Drink, and Chobani Oat Extra Creamy.
Essential equipment includes an espresso machine, a steam wand, and a 12-ounce steaming pitcher. Investing in reliable equipment enhances the quality of oat milk froth.
Craft-focused small businesses have always relied on care, precision, and sourcing to stand out. What’s changing now is how those values are shown, not just
How can brands create a more balanced and memorable customer experience by blending artisanal product quality with thoughtful everyday rituals that keep people coming back?

Independent coffee shops have always been about more than caffeine—they’re hubs of creativity, connection, and care. As café culture continues to evolve, new trends are
Introduction Independent cafes win when they feel like the neighborhood’s living room and operate with the discipline of a great kitchen. Below is a quick
Discover how top specialty coffee brands create lasting loyalty through storytelling, sourcing, and community connection. Real tips from 6 industry experts.

Discover the ultimate showdown between two beloved coffee brewing methods: the French press and Chemex. Explore how each technique caters to distinct palates, with the French press delivering bold flavors and the Chemex presenting a bright, clean taste.

Unlock the secrets to brewing the perfect cup of coffee with our comprehensive guide on using a coffee scale. Discover how precise measurements enhance flavor and consistency while eliminating bitterness.

Discover how water temperature plays a vital role in brewing the perfect cup of coffee. This article delves into the ideal temperature range of 195°F to 205°F for optimal flavor extraction, enhancing the enjoyment of high-quality beans.

Discover the world of curated specialty coffee bundles, perfect for enthusiasts seeking quality and craftsmanship. This article explores the benefits of ethically sourced, small-batch beans from brands like Equipoise Coffee, offering diverse flavor profiles that elevate your brewing experience.