Artisanal Rituals for a Memorable Customer Experience
How can brands create a more balanced and memorable customer experience by blending artisanal product quality with thoughtful everyday rituals that keep people coming back?

Is creating intricate latte art just for seasoned baristas, or can it be mastered at home? Exploring how to make latte art and craft latte designs reveals unexpected surprises: it begins with essential equipment and quality ingredients that transform lattes from simple beverages into canvases for creativity. To excel in creating latte art at home, the choice of tools and ingredients is pivotal. Discover how employing a well-equipped espresso machine, leveraging fresh whole milk or oat milk, and opting for home-roasted coffee beans set the foundation for your masterpiece.
To make latte art at home, an espresso machine with a steaming wand is crucial. This wand is essential for creating the microfoam needed for detailed designs. Microfoam is made up of tiny bubbles, giving the milk a smooth texture necessary for latte art. Without this tool, getting the right milk texture is much harder.
Whole milk is the go-to choice because it froths well, but oat milk works as a non-dairy option. The type of milk impacts both the texture and taste of your latte art.
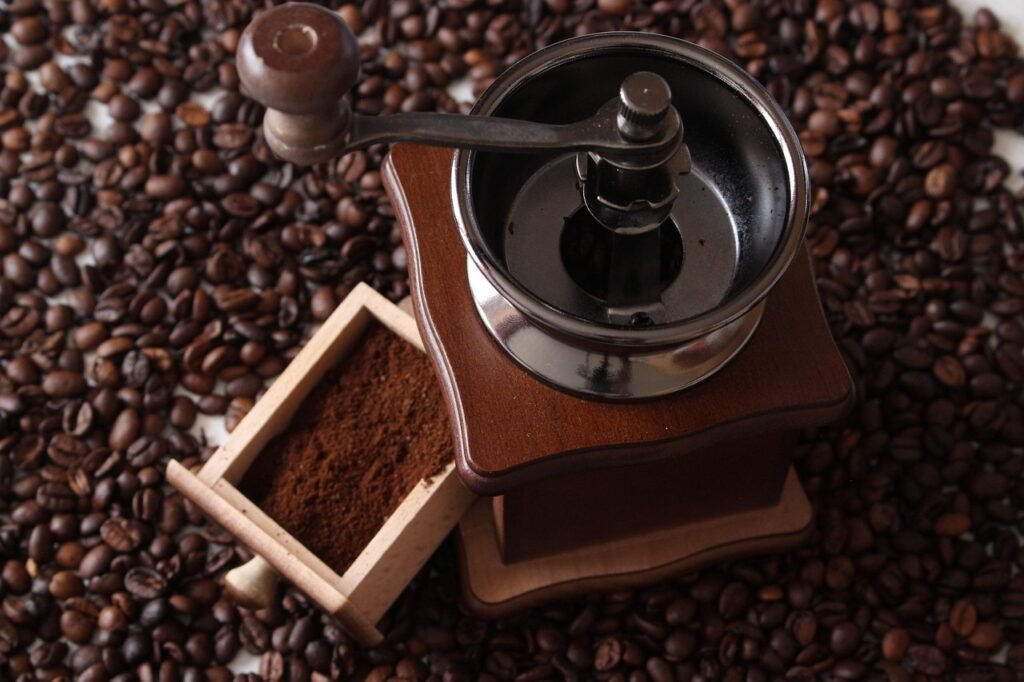
Using home-roasted coffee beans can greatly improve your latte art. These beans have richer flavors compared to large commercial brands. Fresh home-roasted beans lead to a better espresso shot, which is key for any latte art. A top-notch espresso provides the stable base needed for the milk to mix well, allowing for clearer designs. Pairing flavorful beans with well-frothed milk enhances both the taste and look of your latte art.
Here’s a quick checklist:
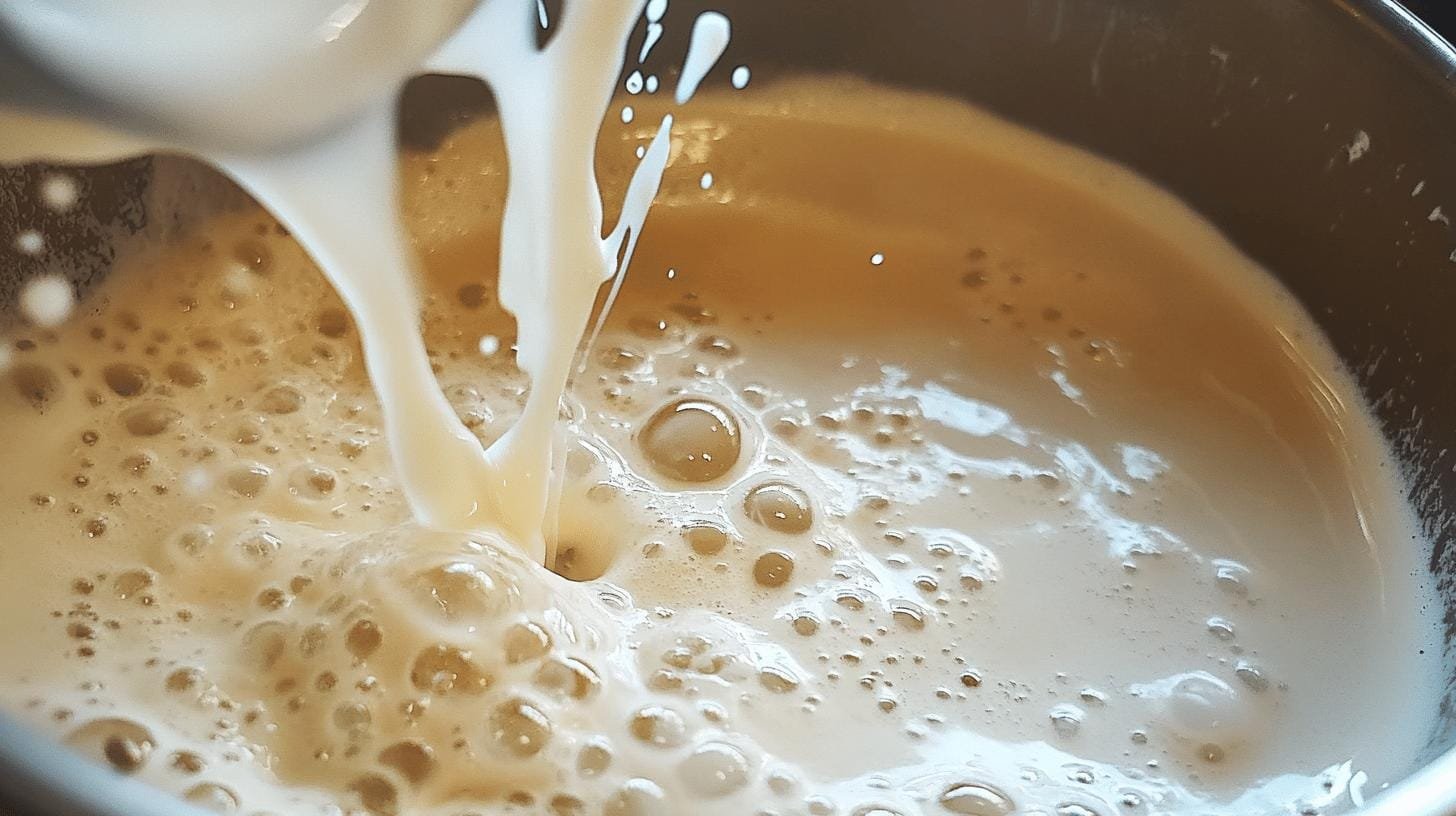
The texture of the milk, along with microfoam, is crucial for latte art. You need a “wet-paint” texture with a shiny and uniform bubble structure. This texture helps the milk blend well with espresso, creating distinct patterns.
Temperature is key in frothing milk correctly. The milk should be hot to touch, but not boiling. This ensures the milk proteins are denatured, which is important for stable foam. Creating a vortex by submerging the frothing tip helps distribute heat evenly, contributing to a consistent microfoam texture.
Follow these steps for perfect latte foam:
These frothing techniques improve your latte art quality. By focusing on texture and temperature, you can create a microfoam that’s ideal for artistic designs.
First, create a stable base by pouring deeply into the espresso. This ensures the milk and espresso blend well for the design phase. Next, move the pitcher closer to the surface to form the design, allowing for precise control and detailed patterns.
The right cup angle and pitcher closeness are key for precise latte art. Tilting the cup, usually at 45 degrees, helps direct the milk flow. Bringing the pitcher close ensures controlled pouring, forming clear patterns. This technique spreads the microfoam evenly, enhancing your latte art’s visual appeal.
Begin by pouring milk into one spot while moving the pitcher side to side. This forms the heart’s base. As you finish, lift the pitcher slightly and move it horizontally to shape the top. Controlling milk flow and movements is essential for a classic heart shape.

Start with simpler designs like the tulip. This pattern helps build foundational skills. To create a tulip, stack foam layers while pouring, starting from the bottom and moving upward with controlled wrist movements.
To make a rosetta, use a wiggle in your pouring technique. Pour milk in the center, letting the foam spread out. As the cup fills, move the pitcher side to side to form the leaf-like structure. This smooth movement ensures the milk flows into the espresso seamlessly.
Beyond the tulip and rosetta, try various patterns to expand your skills. A heart is a basic design used in many techniques. The flower pattern involves pouring from a height and then lowering the pitcher to allow the foam to create a floral look. These designs showcase the creativity within latte art.
To improve latte art skills, consistent practice is key. Utilize online resources like videos for valuable insights. Visual tutorials show proper pouring and frothing techniques needed to build muscle memory. Regular practice, including miming the process, reinforces movements for enhanced precision.
Pouring milk into another pitcher can improve texture. This step helps redistribute froth evenly, making it easier to pour precisely. By transferring the milk, the microfoam becomes smoother, elevating the quality of your latte art.
Achieving intricate latte art at home requires mastering several critical steps. Utilizing an espresso machine with a steaming wand ensures precise microfoam creation. Home-roasted coffee beans enhance the flavor, elevating the coffee experience. Mastery of milk frothing, with attention to texture and temperature, is crucial for creating artful designs.
Learning how to make latte art with step-by-step guides paves the way to crafting basic patterns like hearts and tulips. Consistent practice and troubleshooting common mistakes solidify one’s capabilities. With patience, anyone can transform their home coffee ritual into an artful and delicious endeavor.
Beginners should start with simple latte art designs like the heart. Use an espresso machine with a steaming wand to create microfoam and practice pouring techniques for accurate patterns.
Essential steps include steaming whole milk to microfoam, pouring deep into the espresso, and moving the pitcher closer for design. Practicing these steps will refine skills and improve results.
Use a milk frother to create microfoam in place of an espresso machine. Froth the milk and practice hand-pouring to develop designs in a home setting.
With a frother, create microfoam by introducing air briefly, then submerge the tip and create a vortex. Follow by pouring smoothly for patterns.
To make latte art, you need an espresso machine with a steaming wand, milk frothing pitcher, fresh whole or oat milk, home-roasted coffee beans, and a quality grinder.

How can brands create a more balanced and memorable customer experience by blending artisanal product quality with thoughtful everyday rituals that keep people coming back?

Independent coffee shops have always been about more than caffeine—they’re hubs of creativity, connection, and care. As café culture continues to evolve, new trends are
Introduction Independent cafes win when they feel like the neighborhood’s living room and operate with the discipline of a great kitchen. Below is a quick

Discover how top specialty coffee brands create lasting loyalty through storytelling, sourcing, and community connection. Real tips from 6 industry experts.

Discover the ultimate showdown between two beloved coffee brewing methods: the French press and Chemex. Explore how each technique caters to distinct palates, with the French press delivering bold flavors and the Chemex presenting a bright, clean taste.

Unlock the secrets to brewing the perfect cup of coffee with our comprehensive guide on using a coffee scale. Discover how precise measurements enhance flavor and consistency while eliminating bitterness.

Discover how water temperature plays a vital role in brewing the perfect cup of coffee. This article delves into the ideal temperature range of 195°F to 205°F for optimal flavor extraction, enhancing the enjoyment of high-quality beans.

Discover the world of curated specialty coffee bundles, perfect for enthusiasts seeking quality and craftsmanship. This article explores the benefits of ethically sourced, small-batch beans from brands like Equipoise Coffee, offering diverse flavor profiles that elevate your brewing experience.

Discover the art of manual brewing to elevate your coffee experience! This article explores various techniques like pour-over, French press, and AeroPress, revealing how they enhance flavor and your connection to every cup.