Artisanal Rituals for a Memorable Customer Experience
How can brands create a more balanced and memorable customer experience by blending artisanal product quality with thoughtful everyday rituals that keep people coming back?
Curious about mastering that compact coffee brewing device called the AeroPress? Many coffee aficionados swear by its unique brewing capabilities, yet it often leaves newcomers puzzled.This article answers the question: How do I use my AeroPress? It reveals the essential steps to set up and use your AeroPress effectively, ensuring each cup you brew is as delicious as the last. From understanding its fundamental components to executing the brewing process like a pro, explore how to harness the full potential of this versatile coffee maker.
To start using your AeroPress, gather a few key items: a favorite mug, hot water, paper filters, and the AeroPress itself. These are the basics for a great brewing experience.
First, separate the plunger from the immersion chamber. Insert a paper filter into the filter cap and attach it securely to the chamber. Place the chamber on your mug, ensuring it is stable. Add a heaping scoop of medium-fine coffee into the chamber, ensuring an even coffee bed.
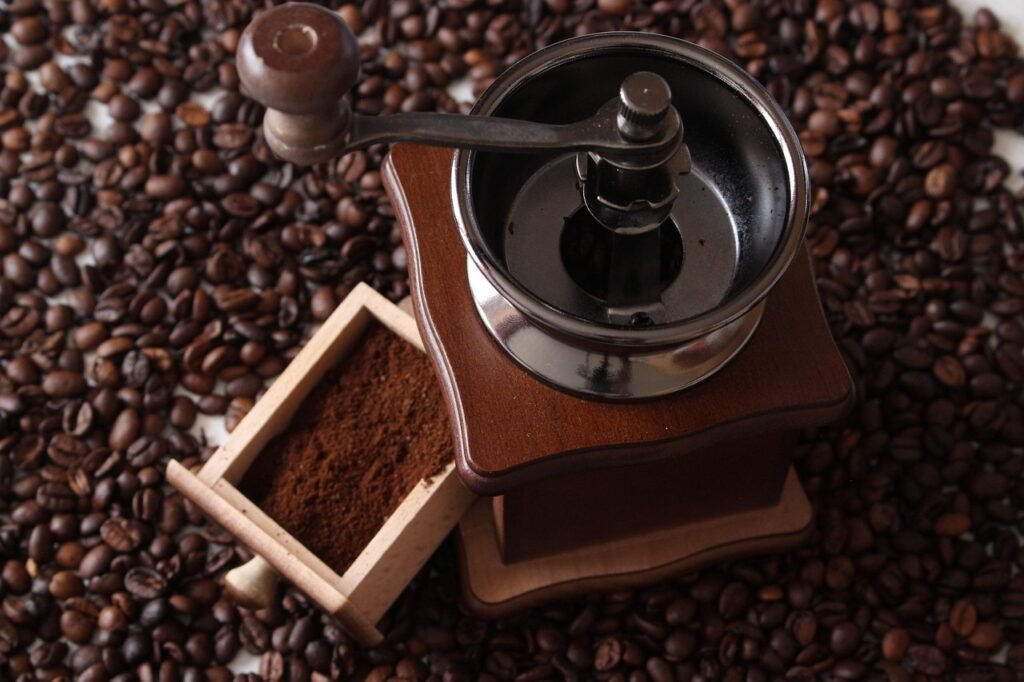
Using freshly ground, home-roasted coffee beans is essential for the best flavor. This choice boosts the taste significantly over pre-packaged brands, offering a richer, more aromatic cup.
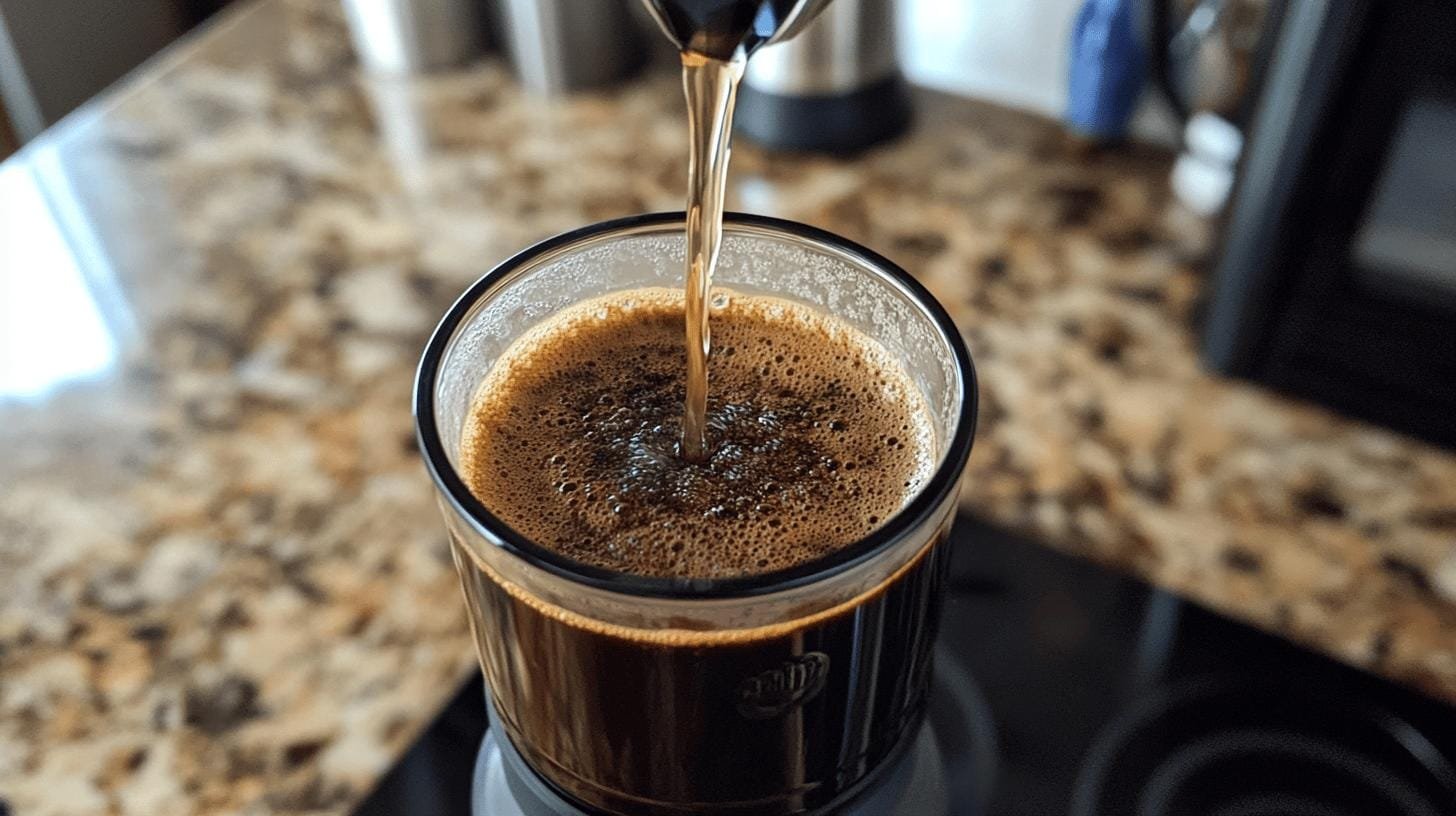
Water temperature and coffee saturation are key in the AeroPress brewing process. Using hot water at about 205°F extracts flavors optimally, while saturating grounds within 10 seconds ensures balance. These factors greatly affect your coffee’s quality and taste.
The AeroPress is known for its versatility, offering various brewing methods for different flavor preferences. Methods like the Standard, Inverted, and Cold Brew provide a range of coffee experiences.
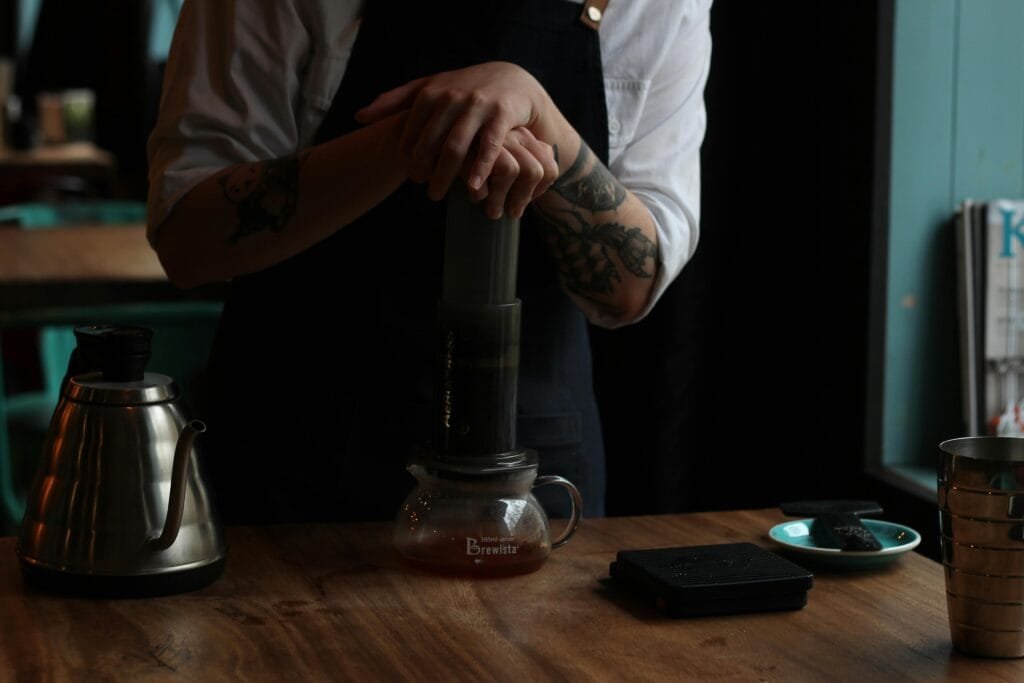
The Standard Method offers a balanced flavor and is favored for its simplicity and efficiency. Place the AeroPress on a mug, add coffee, and pour hot water over the grounds. Stir and plunge gently. This method delivers a smooth cup with a well-rounded flavor.
For a stronger, richer coffee, try the Inverted Method. Assemble the AeroPress upside down with the plunger at the bottom. Add coffee and water, allowing it to steep longer. Then, attach the filter cap, carefully flip the AeroPress, and press over a mug. This prolonged immersion results in a bolder taste, perfect for intense coffee lovers.
For a refreshing change, the Cold Brew Method provides a unique AeroPress experience. Add coffee and cold water to the AeroPress, and let it steep in the refrigerator for 12-24 hours. After steeping, press the coffee over ice. This method brings out delicate flavors, producing a smooth drink with low acidity, ideal for hot days.
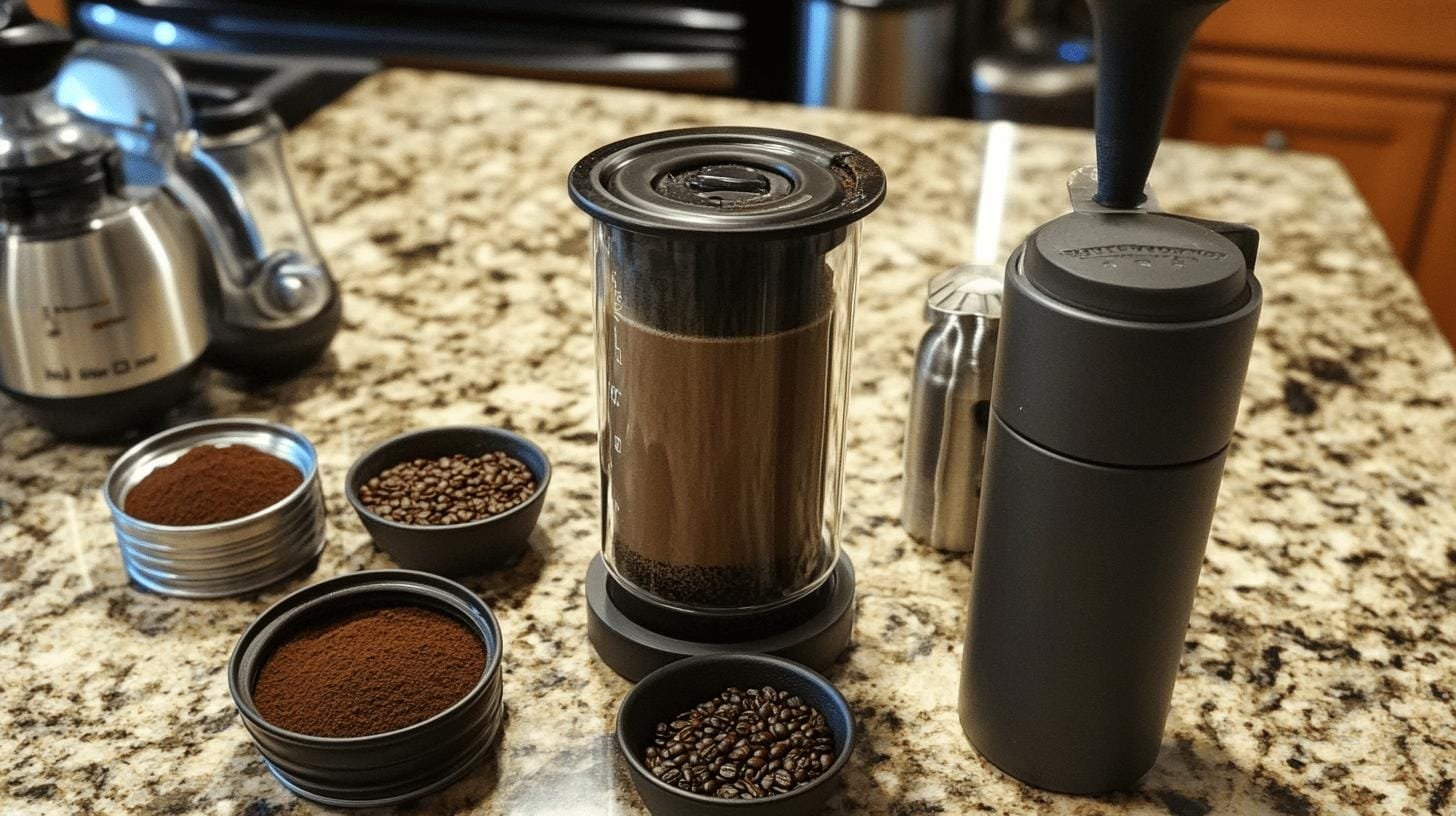
Aiming for the best coffee flavor with an AeroPress requires attention to grind size and water temperature. A grind slightly finer than table salt allows optimal extraction, ensuring balance. Using about 3 tablespoons of coffee gives a rich brew. The standard AeroPress water temperature is about 175°F, but experimenting with temperatures can reveal unique flavors. Lower temperatures highlight sweeter notes, while higher ones bring out bitterness.
Managing these enhances the coffee’s aroma and complexity, crafting a cup that excels in depth and taste.
Keeping your AeroPress clean is vital for its longevity and coffee quality. After each use, remove the basket, eject the used grounds, and rinse the plunger. This daily cleaning prevents residue buildup and keeps coffee fresh. While dishwasher safe, hand wash the rubber basket to extend its life.
Regular AeroPress maintenance includes checking components for wear. Inspect the rubber gasket for cracks or hardening which can affect the seal. Replace any worn parts to maintain performance. A deep clean, soaking in a vinegar-water solution, helps remove stubborn residues.
Setting up and mastering the AeroPress begins with understanding essential components and the brewing process. With steps well-defined, achieving a balanced cup of coffee becomes an enjoyable experience.
The focus remains on optimizing flavor through grind size, temperature, and stirring. Regular cleaning ensures longevity and consistent performance. How do I use my AeroPress? Embrace these insights and enjoy crafting coffee adjusted to your tastes, achieving the perfect balance one cup at a time.
Using an AeroPress involves simple steps: separate the plunger and chamber, insert a paper filter in the cap, and attach it. Place it over a mug, add a scoop of coffee, and follow brewing instructions for a perfect brew.
To make coffee in an AeroPress, ensure the grounds are saturated with hot water promptly, stir, and press gently. Use approximately 220g of water and medium-fine coffee for optimal results.
For a standard brew, use one heaping scoop, roughly 3 tablespoons, of medium-fine coffee grounds to achieve a balanced flavor profile in an AeroPress.
An AeroPress typically brews one to two cups of coffee per use, depending on the amount of water and coffee grounds used.
Cleaning the AeroPress is easy: eject grounds, rinse, and hand wash the gasket. For maintenance, check seals periodically to prevent leaks, and ensure thorough drying before storage.
How can brands create a more balanced and memorable customer experience by blending artisanal product quality with thoughtful everyday rituals that keep people coming back?

Independent coffee shops have always been about more than caffeine—they’re hubs of creativity, connection, and care. As café culture continues to evolve, new trends are
Introduction Independent cafes win when they feel like the neighborhood’s living room and operate with the discipline of a great kitchen. Below is a quick

Discover how top specialty coffee brands create lasting loyalty through storytelling, sourcing, and community connection. Real tips from 6 industry experts.

Discover the ultimate showdown between two beloved coffee brewing methods: the French press and Chemex. Explore how each technique caters to distinct palates, with the French press delivering bold flavors and the Chemex presenting a bright, clean taste.

Unlock the secrets to brewing the perfect cup of coffee with our comprehensive guide on using a coffee scale. Discover how precise measurements enhance flavor and consistency while eliminating bitterness.

Discover how water temperature plays a vital role in brewing the perfect cup of coffee. This article delves into the ideal temperature range of 195°F to 205°F for optimal flavor extraction, enhancing the enjoyment of high-quality beans.

Discover the world of curated specialty coffee bundles, perfect for enthusiasts seeking quality and craftsmanship. This article explores the benefits of ethically sourced, small-batch beans from brands like Equipoise Coffee, offering diverse flavor profiles that elevate your brewing experience.

Discover the art of manual brewing to elevate your coffee experience! This article explores various techniques like pour-over, French press, and AeroPress, revealing how they enhance flavor and your connection to every cup.